Part 1: Invite Your Team (Owners and Admins)
1
Open Members
Click Invite colleague in the top right, or go to Settings → Members and groups and click Add member.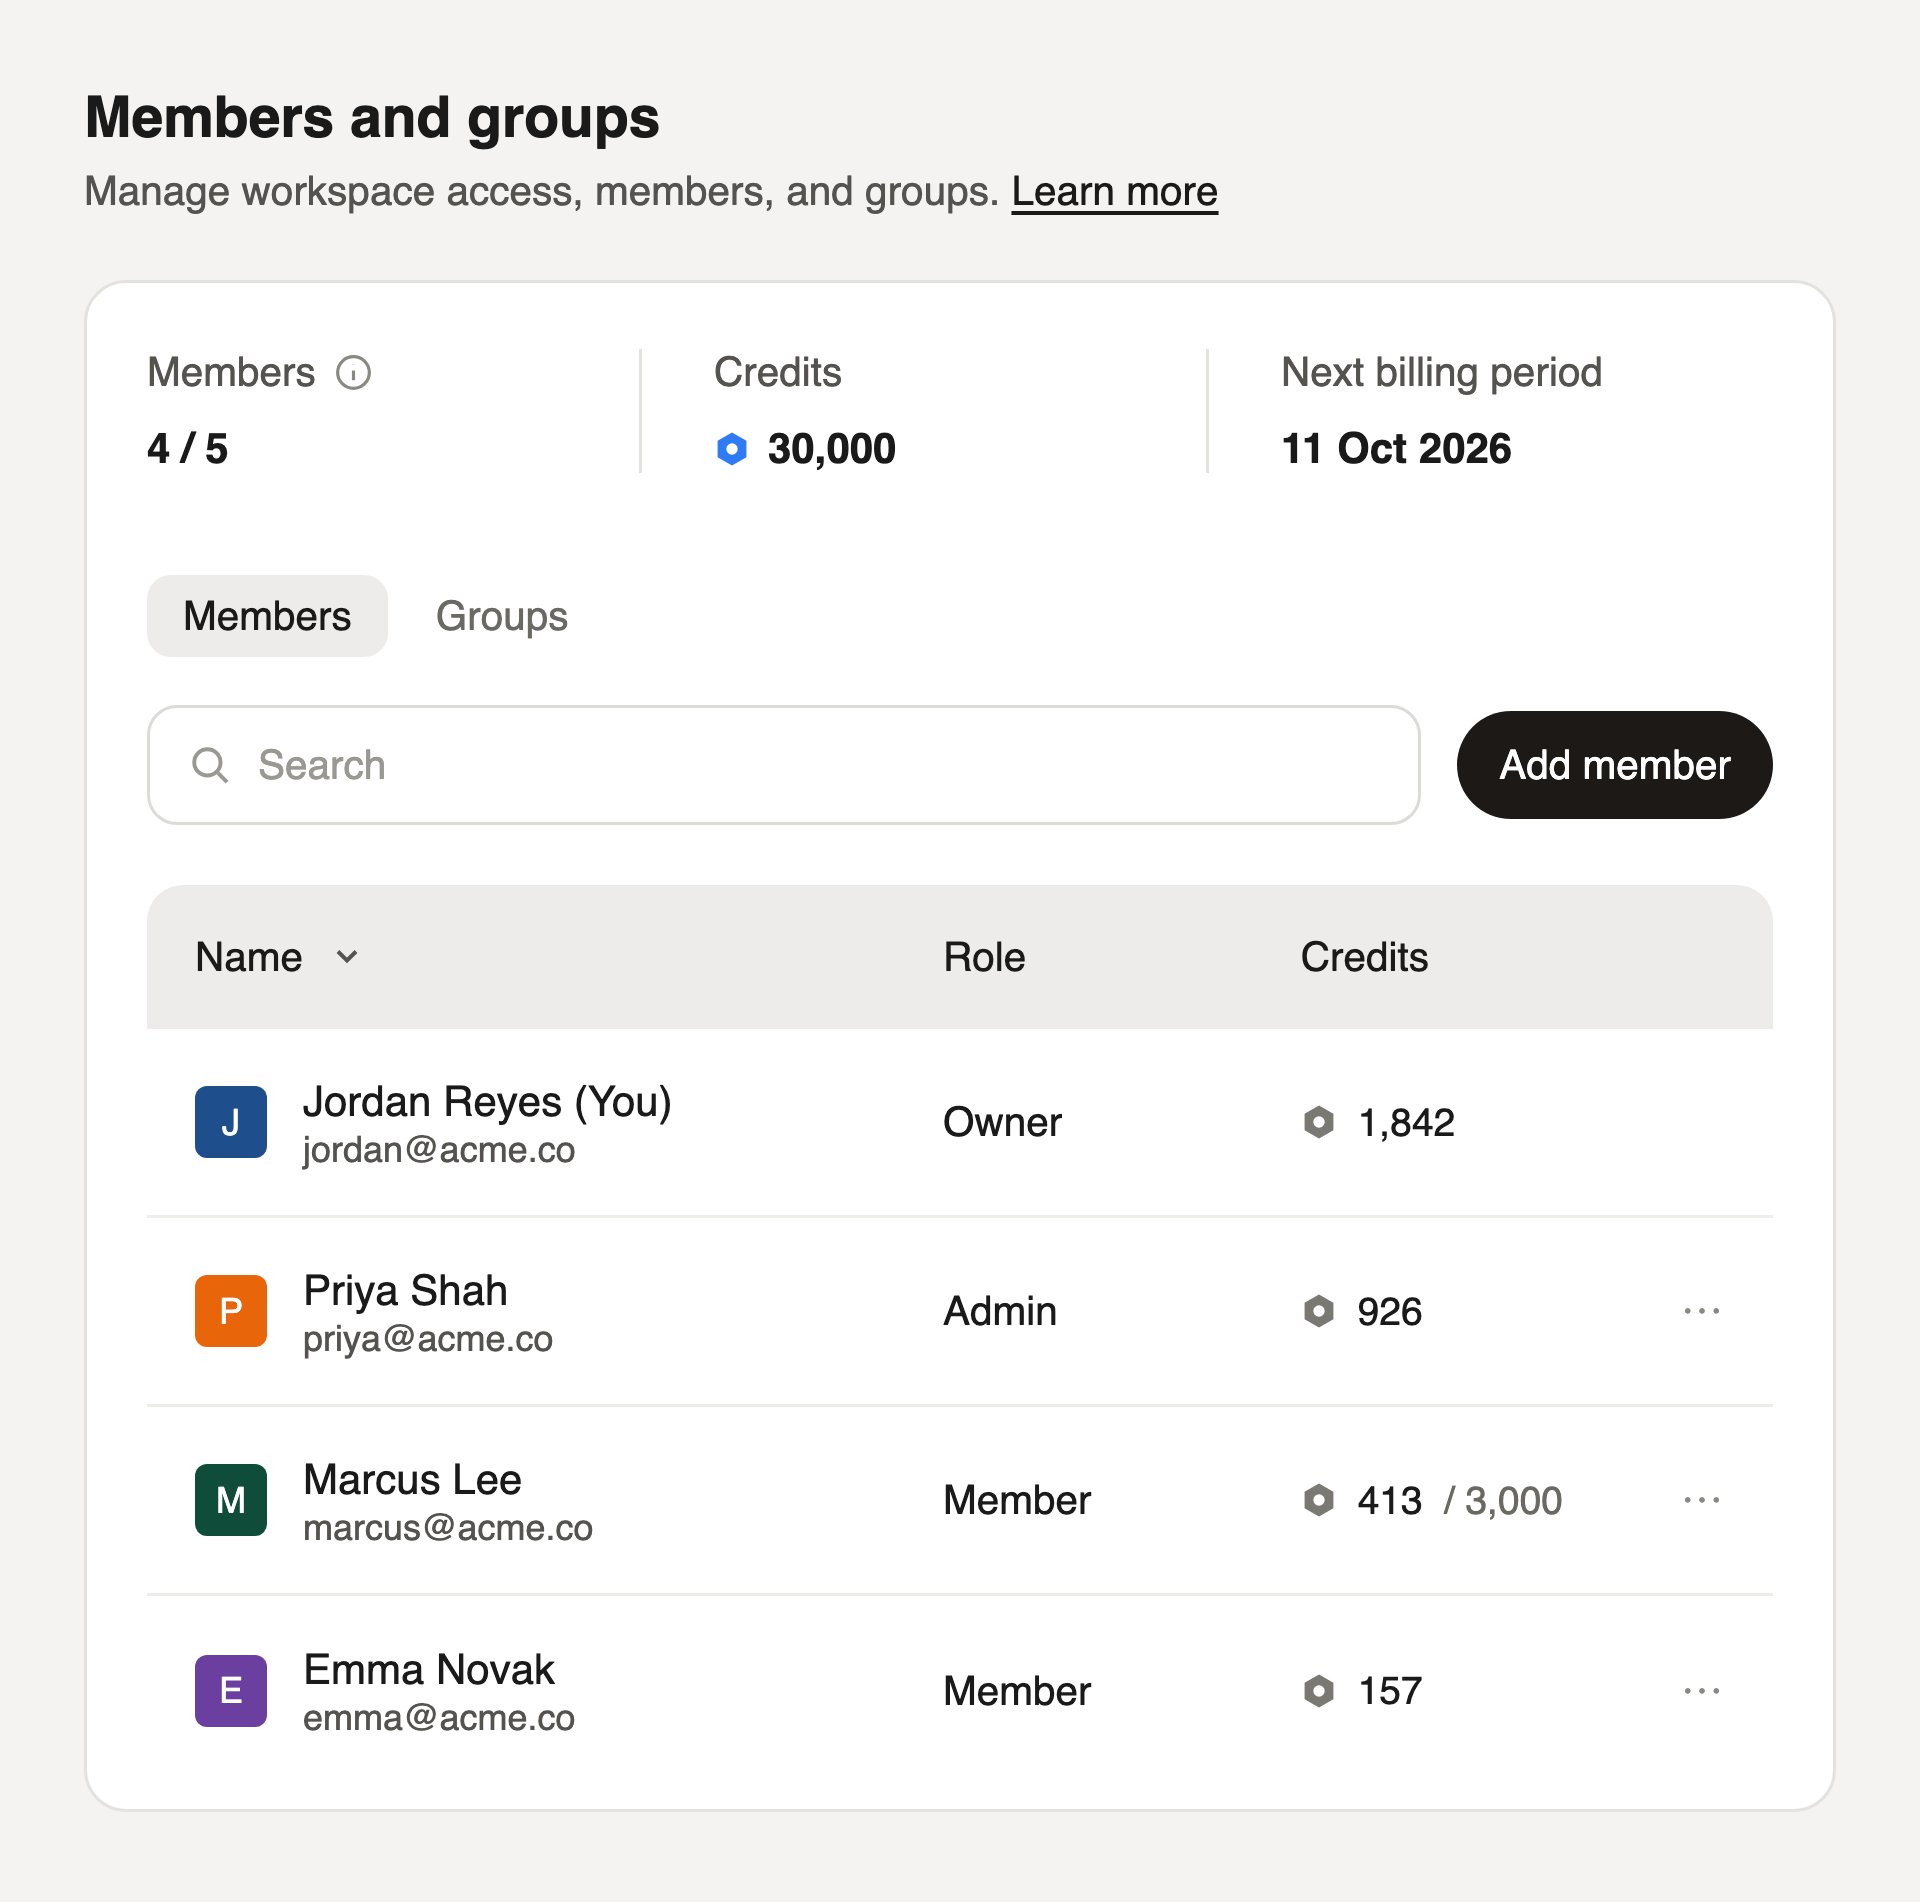
2
Add their details
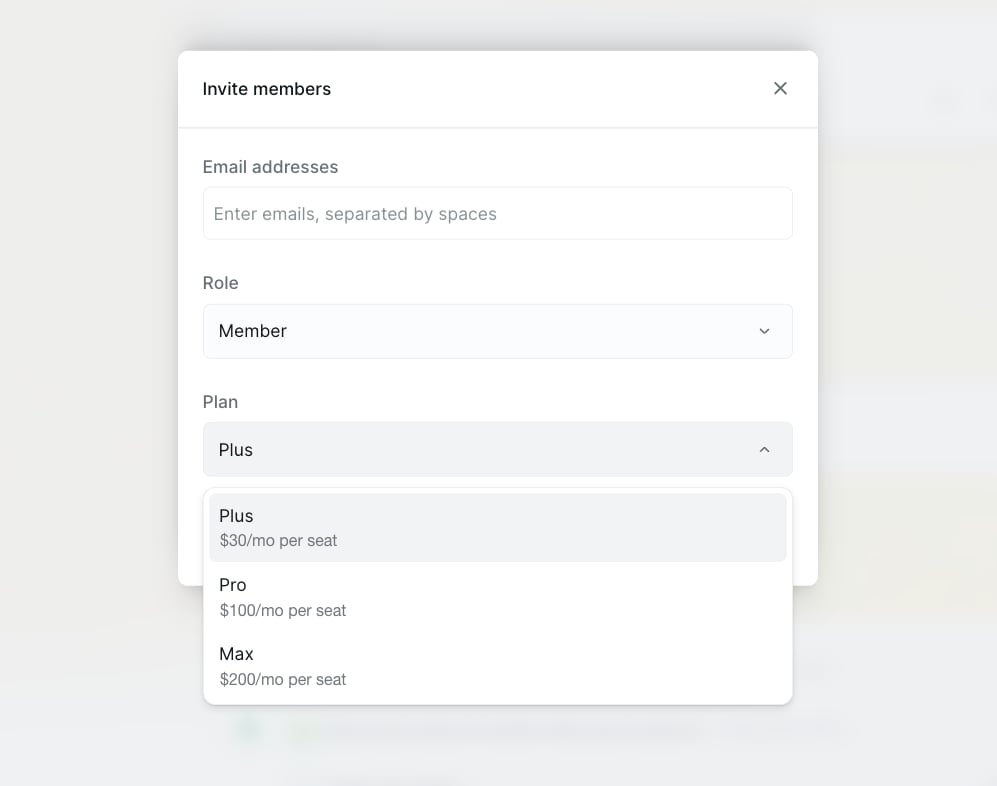
- Type an email address and press Space to add it, then the next. You can also paste a whole list at once. Use the email each person works from every day.
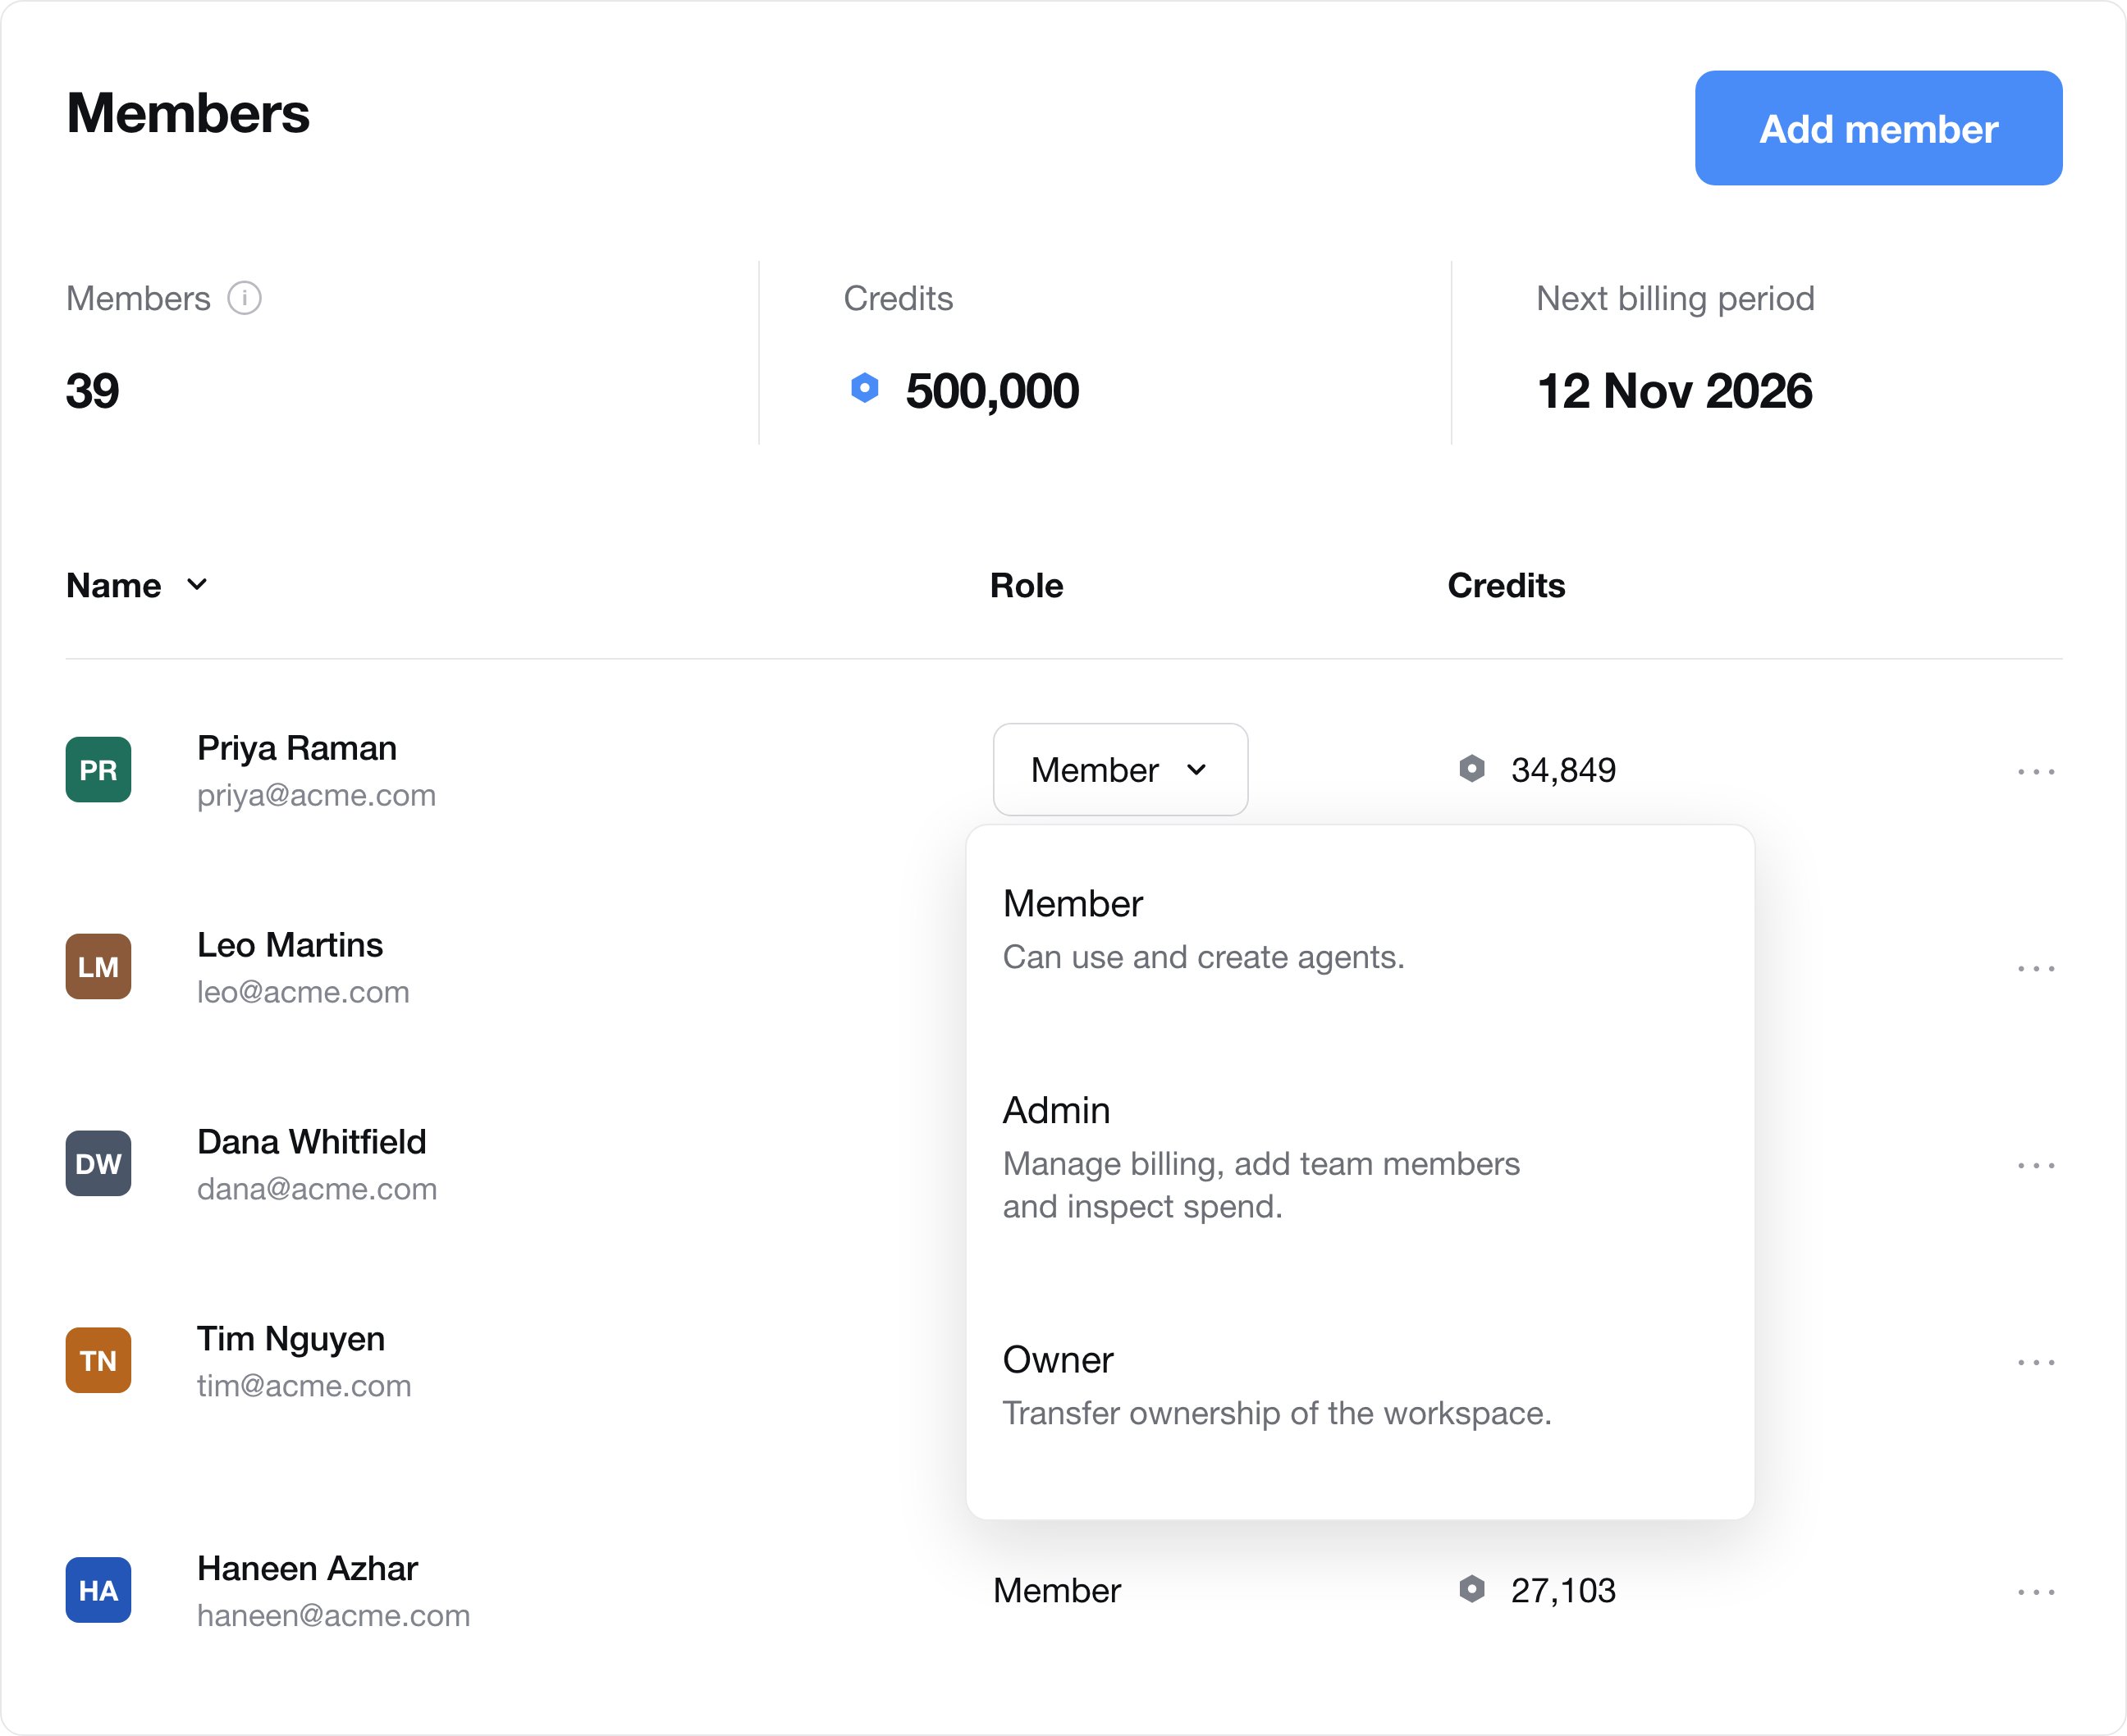
- Pick a role: Member or Admin
- Pick a plan: Plus, Pro, or Max
Enterprise isn’t offered here: it’s a custom plan, so contact us instead. See Pricing for what each plan includes.
3
Send the invites
Click Send invite. Each person gets an email from Lindy, their plan is added to your workspace billing, and your shared credit pool grows to match.
4
Let your team know what's coming
Most teammates hear about Lindy for the first time in the invite email. A short note from you first helps. Copy this into Slack or email:
Part 2: Accept and Connect (Everyone)
1
Accept your invite
Open the email that says you were invited to join your team’s workspace in Lindy, and click Accept invite. Sign in with Google or Microsoft.
2
Connect email, calendar, and phone
These connections are what let Lindy do the work, not just answer questions:
You’ll verify your phone with a code. See iMessage & SMS for details.
3
Try it
Ask for something real:
“What’s urgent in my email?”
“Pull up our top competitors.”
“Find me new leads.”
“Start following up with people who haven’t answered me this week.”
“Always put my meeting notes in [this doc].”
4
Bring your context (optional)
Carry over what ChatGPT or Claude already knows so Lindy gets to know you faster. Paste this prompt there, then share whatever you’d like Lindy to know:
Quick Fixes
If Your Team Uses Slack
An owner or admin needs to install Lindy in Slack first. Until then, teammates won’t find Lindy when they search Slack. See Set up Lindy for the install steps. Once it’s installed, anyone can also add themselves just by talking to it. No admin step, and no invite to wait for. A seat joined this way is billed after a free first week.1
They @mention Lindy, or send it a DM
The first time, Lindy doesn’t answer yet. It replies with a single DM containing a Connect Slack to Lindy button.
2
They tap Connect
They confirm while signed in to Lindy, which binds their Slack identity to their Lindy account. If they don’t have one, Lindy creates it under your workspace.
3
Their original message runs
The message that started it all is replayed automatically once they’re linked, so nothing is lost.
Admins stay in the loop. Every admin gets an email when someone joins this way: who they are, that their first week is free, and a one-click link to remove them. If you remove a seat and that person @mentions Lindy again, it tells them it can’t help and pings an admin. It won’t quietly re-add them.
Managing Members
To manage existing members, go to Settings → Members and groups.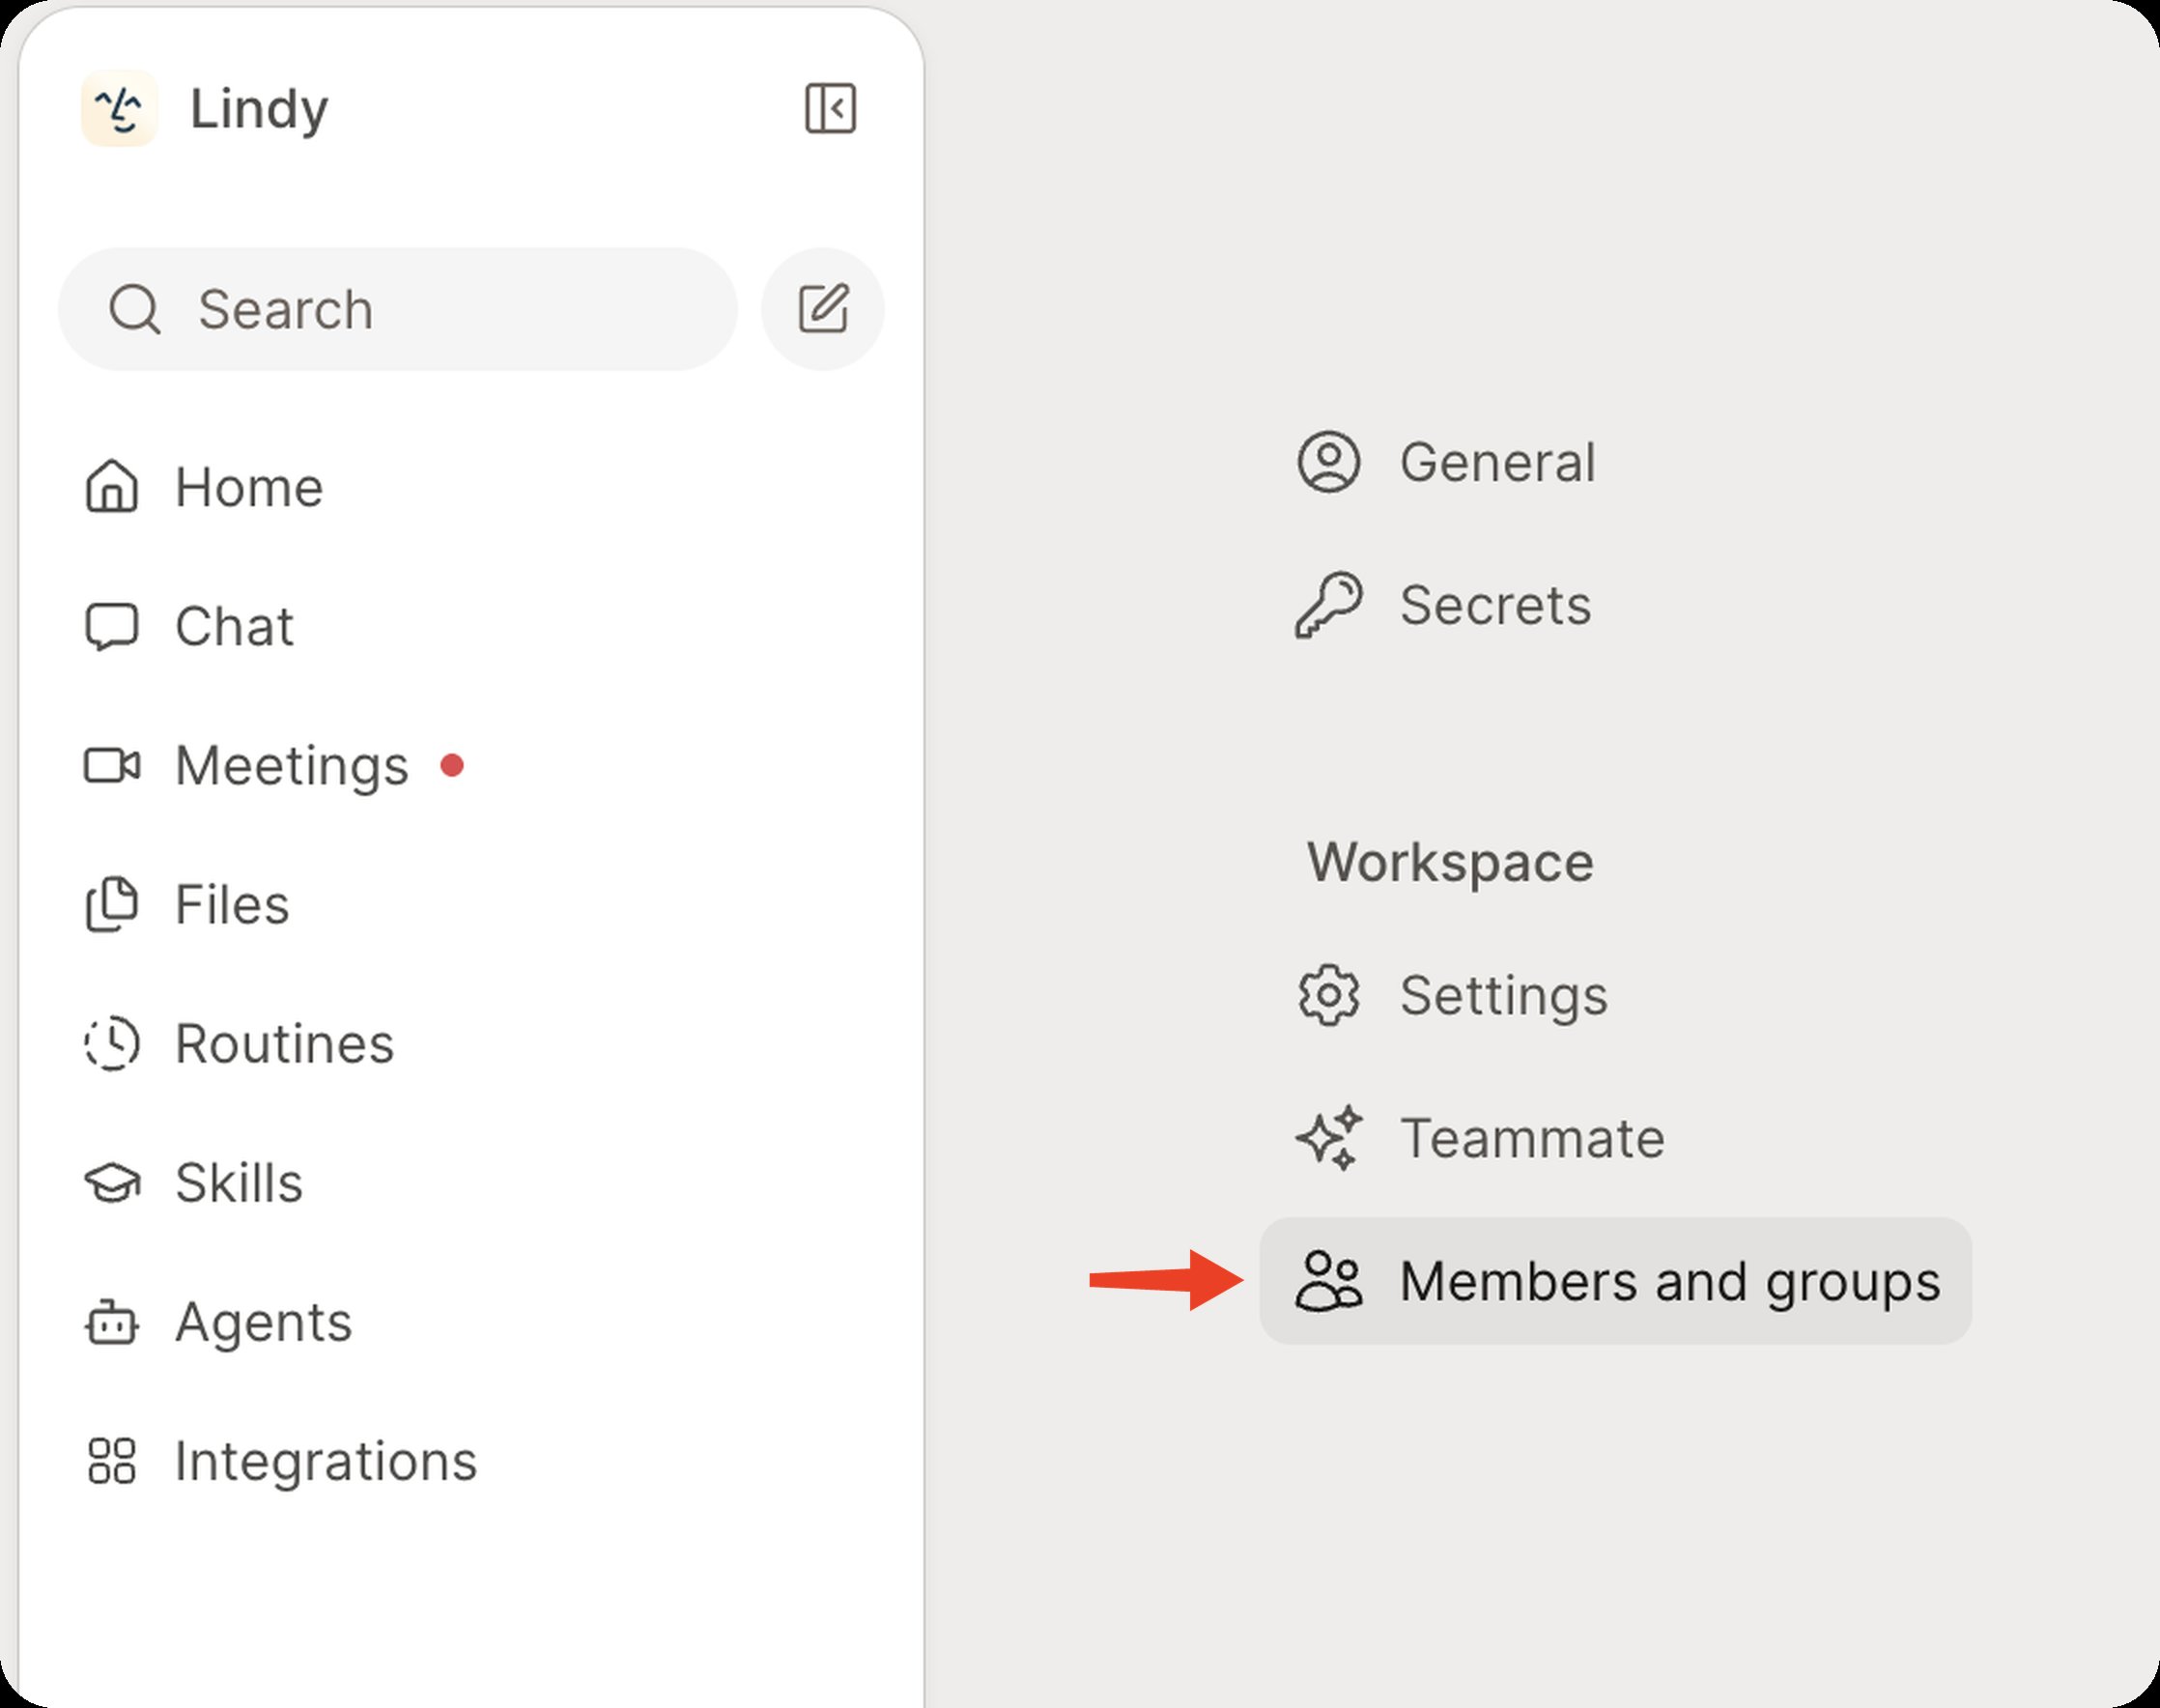
Allocating Credits
Admins and owners can set credit limits for each teammate, capping how many credits they can use each month. Click the … menu on a member’s row and choose Edit credit limit.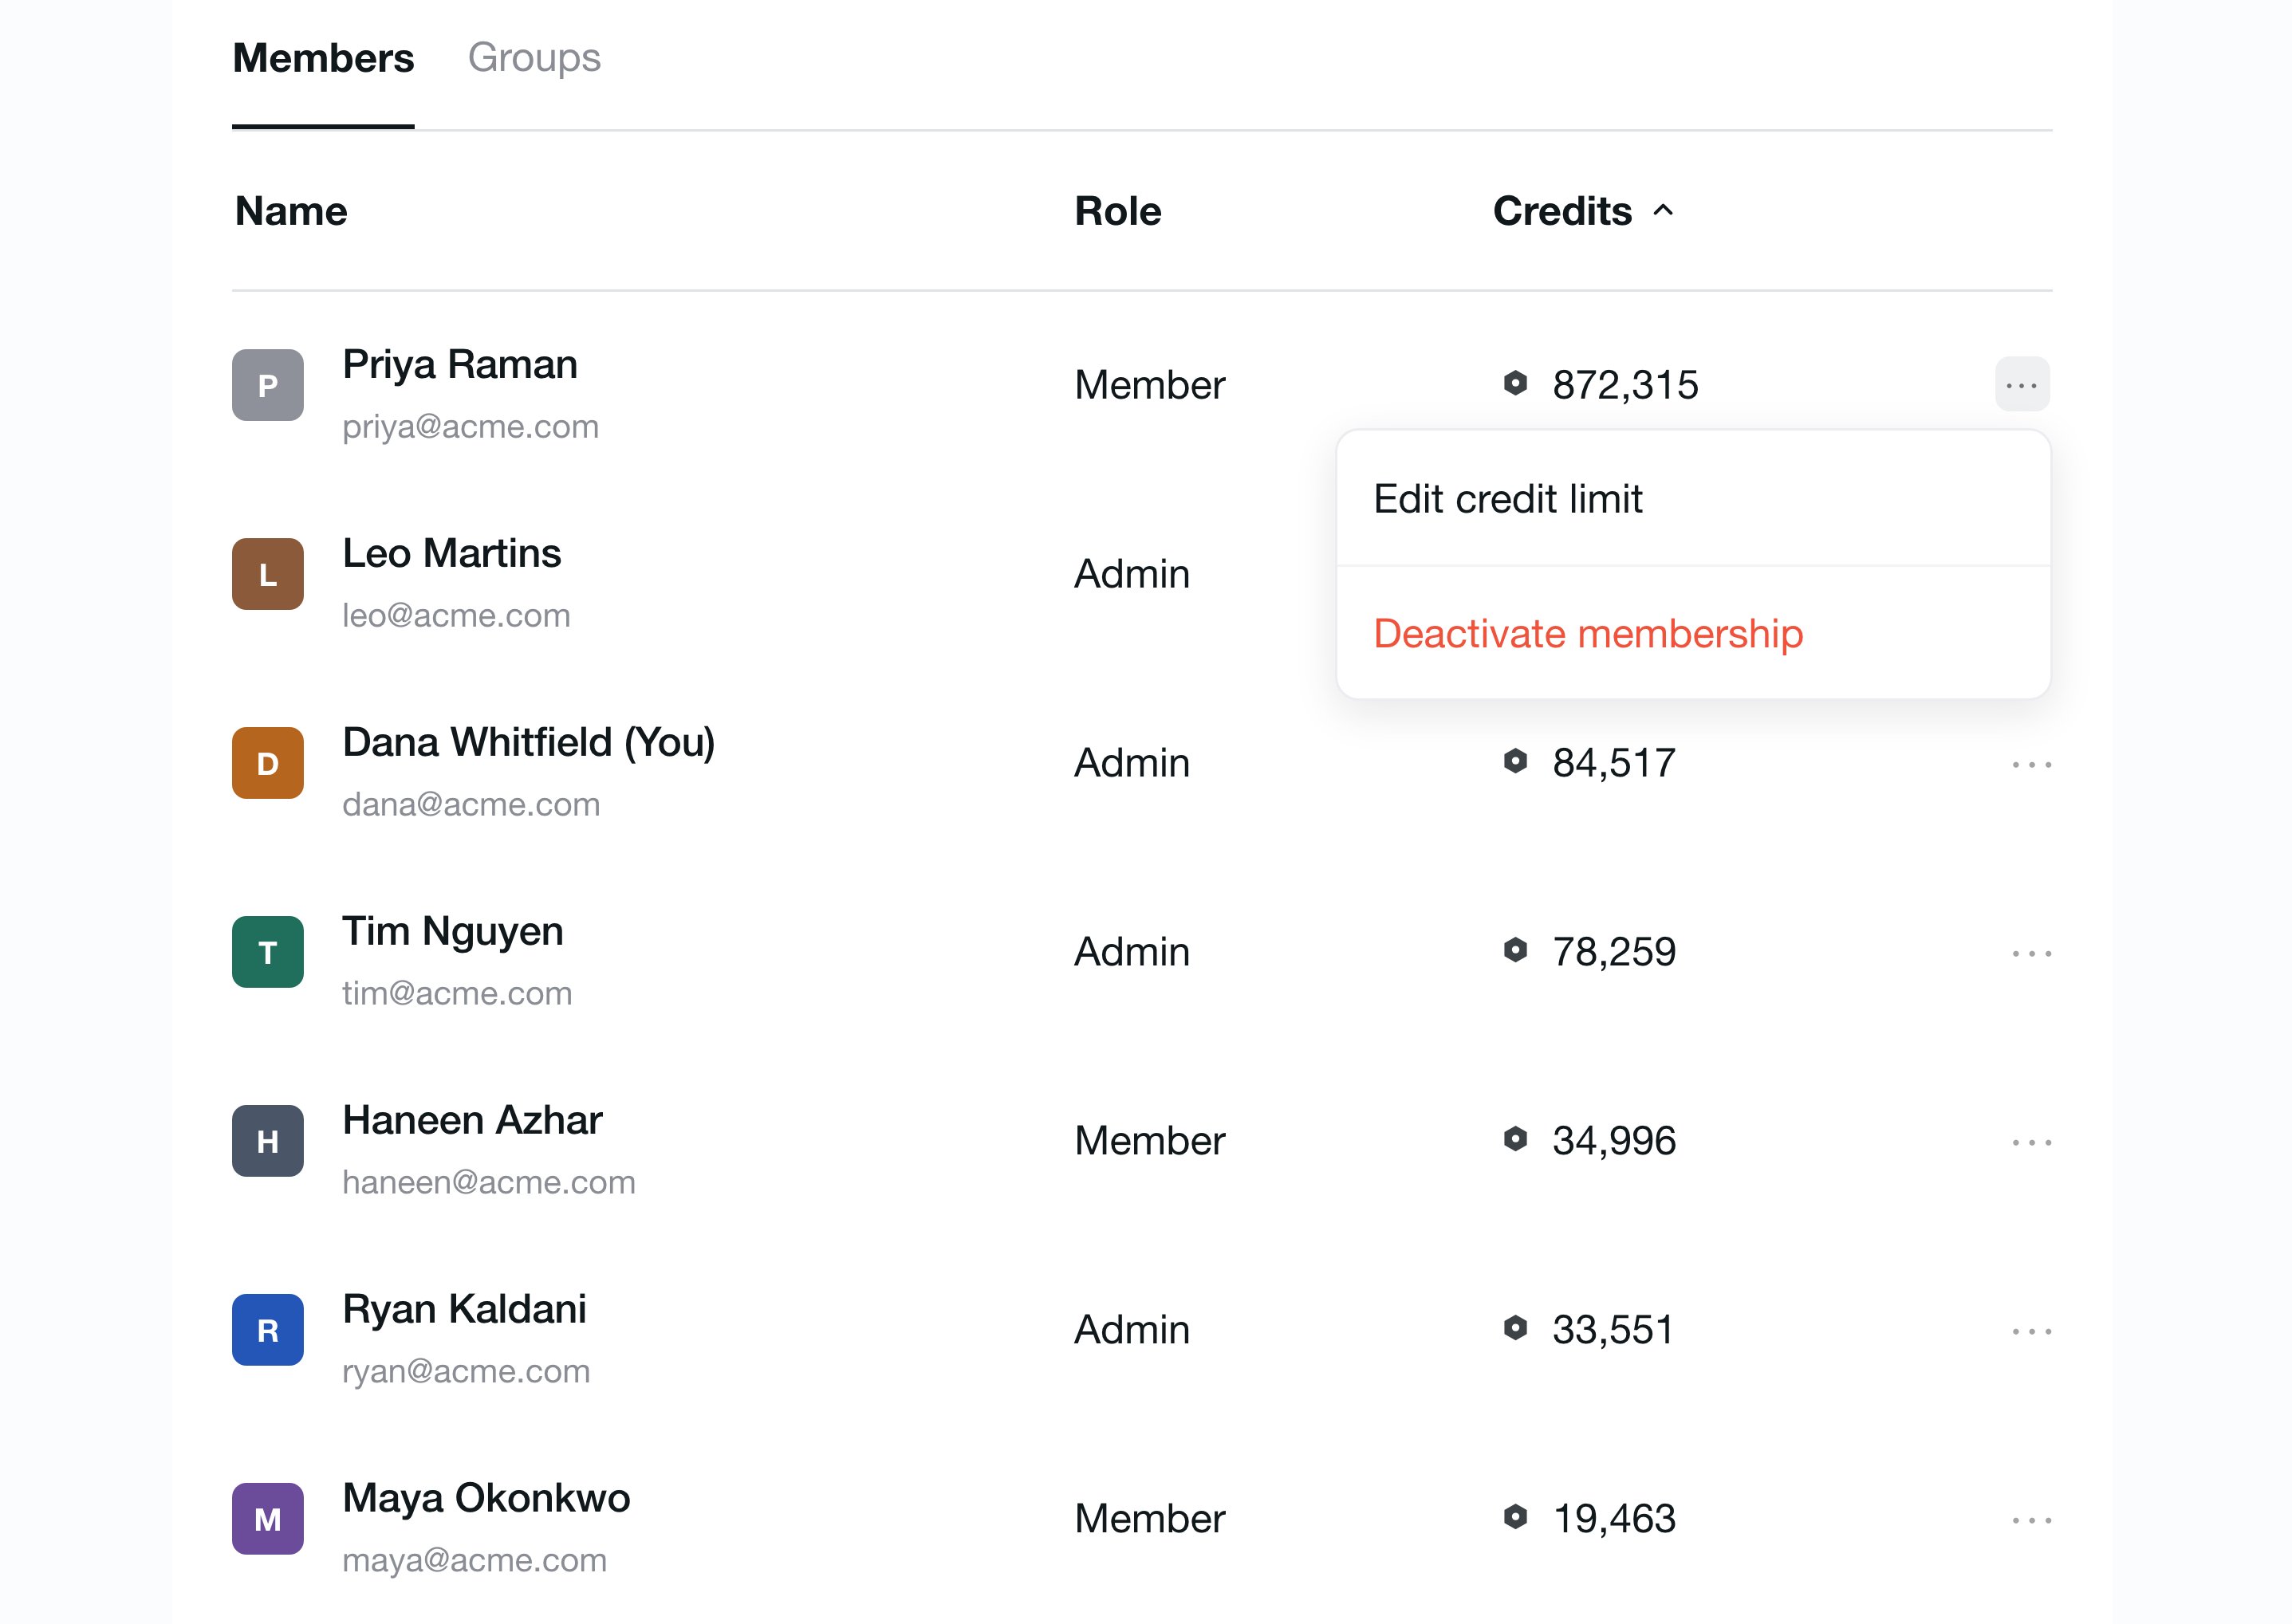
We can only stop credit usage after the limit has been exceeded, not at the exact threshold. For example, if a teammate’s limit is 100 credits and they’ve used 90, a task that costs 50 credits will still run to completion, but no further credit usage will be allowed afterward.
Transferring Workspace Ownership
Owners are the only ones who can manage the payment method, change the workspace name and logo, and delete the workspace. Owners can transfer ownership by clicking the role dropdown next to a member’s or admin’s name and changing their role to Owner.